GCP Dataproc Platform Setup#
This section covers how to install and setup Big Data Toolkit in the GCP Dataproc Platform
Create a Storage Bucket#
Go to https://console.cloud.google.com/. Using the top bar, search for buckets.
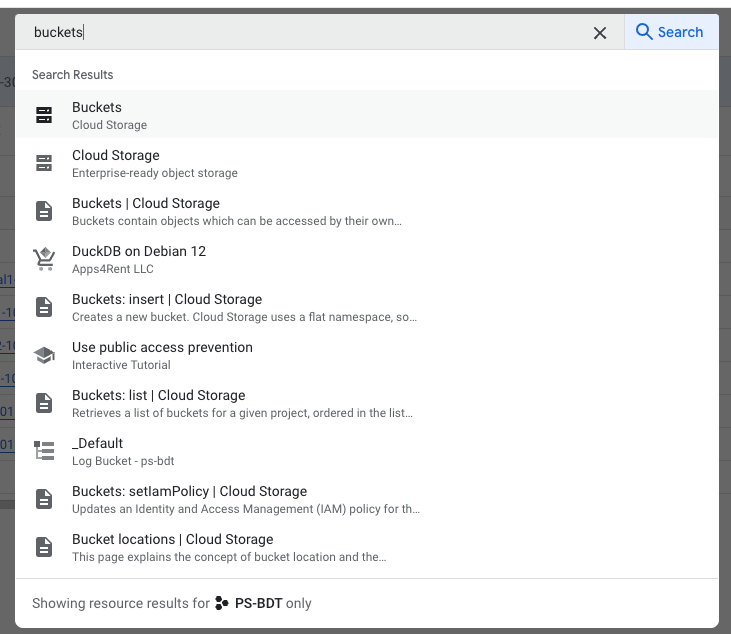
If there is not a bucket available to store the Big Data Toolkit artifacts, create one.

Place BDT Artifacts in Storage#
Upload the Big Data Toolkit artifacts to the bucket created in the previous step. Upload the Python package .zip, Java package .jar and license file *.lic. You will need all three.

Create a Cluster#
In the top bar, search “dataproc”.
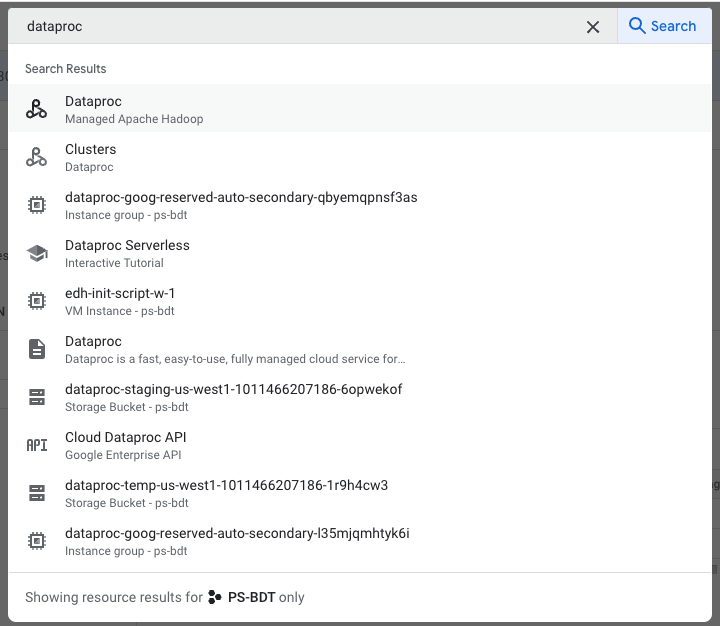
Select Clusters in the left sidebar. Then click “Create Cluster” to begin the cluster creation process.

Choose to create the cluster on Compute Engine
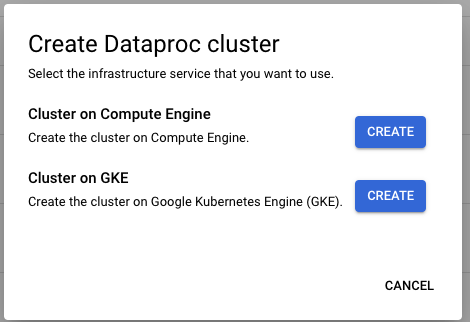
In the opening pane, set your cluster name and region, then scroll to the Components section and toggle Jupyter Notebook On.

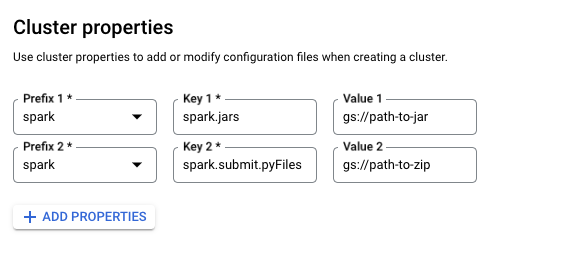
Navigate to the Customize Cluster pane. Set the following Cluster properties:
Prefix 1: spark, Key 1: spark.jars, Value 1: The location of your BDT jar file
Prefix 2: spark, Key2: spark.submit.pyFiles, Value 2: The location of your BDT Zip file
Enable Big Query (Optional)
Due to a known issue with the Dataproc 2.2.x images, the following cluster configuration is required to use Big Query with BDT in GCP Dataproc.
In the Customize Cluster pane during cluster creation, set the following Custom cluster Metadata:
Key 1: SPARK_BQ_CONNECTOR_URL, Value 1: gs://spark-lib/bigquery/spark-3.5-bigquery-0.42.0.jar
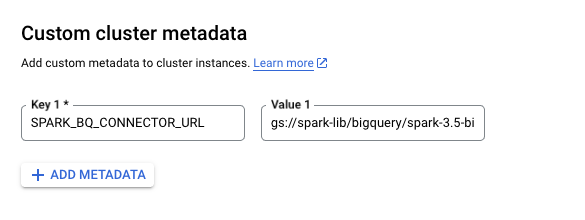
Finish configuring the cluster to your preferences. Click “Create” and the cluster will be created shortly.
Open JupyterLab#
When the cluster is created, its status will show as “running”. Click on the name of the cluster to open the Cluster Details.

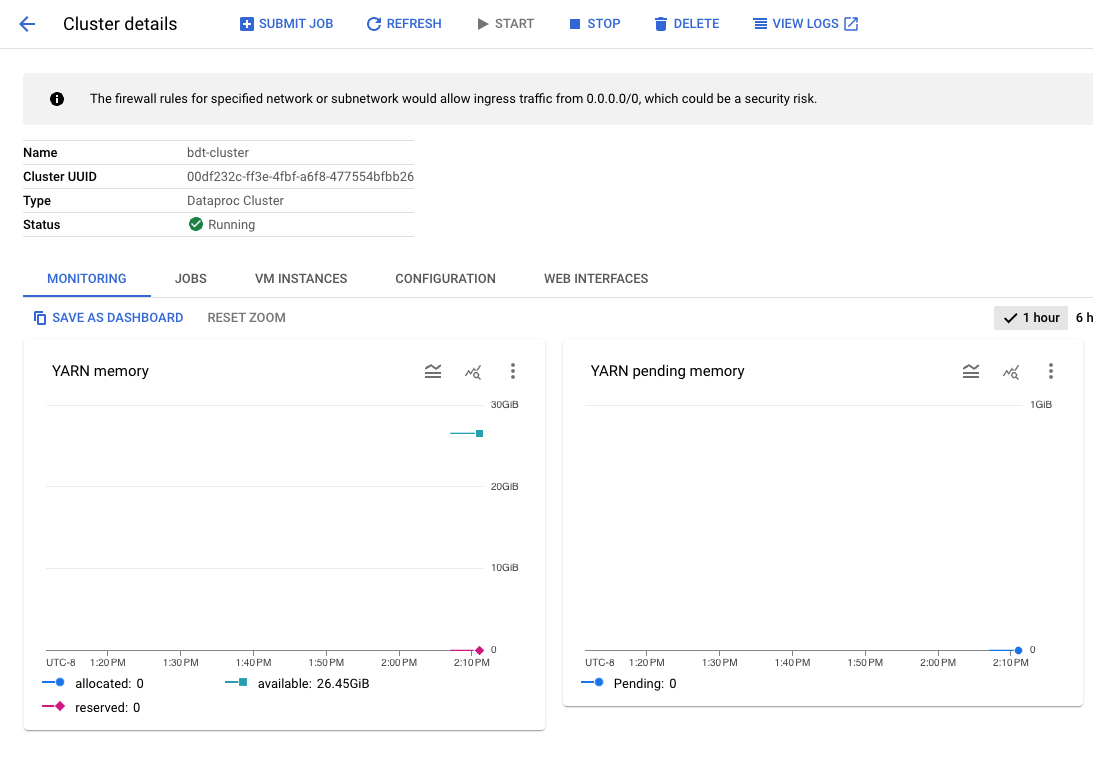
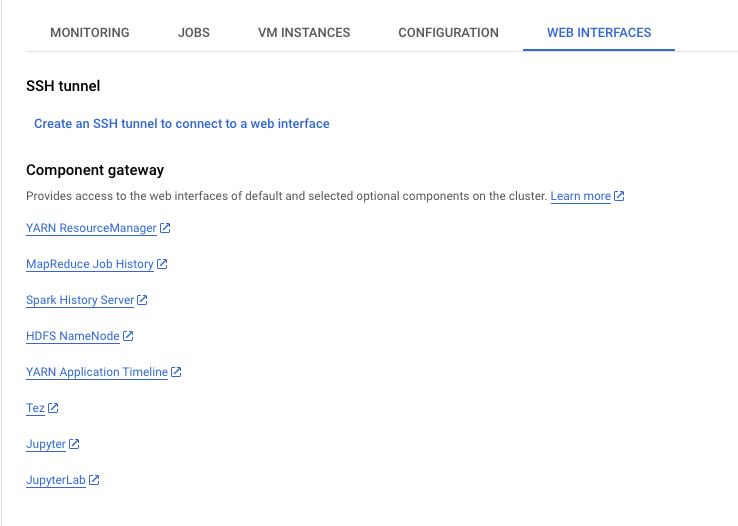
Navigate to the Web interfaces tab and select the link to JupyterLab
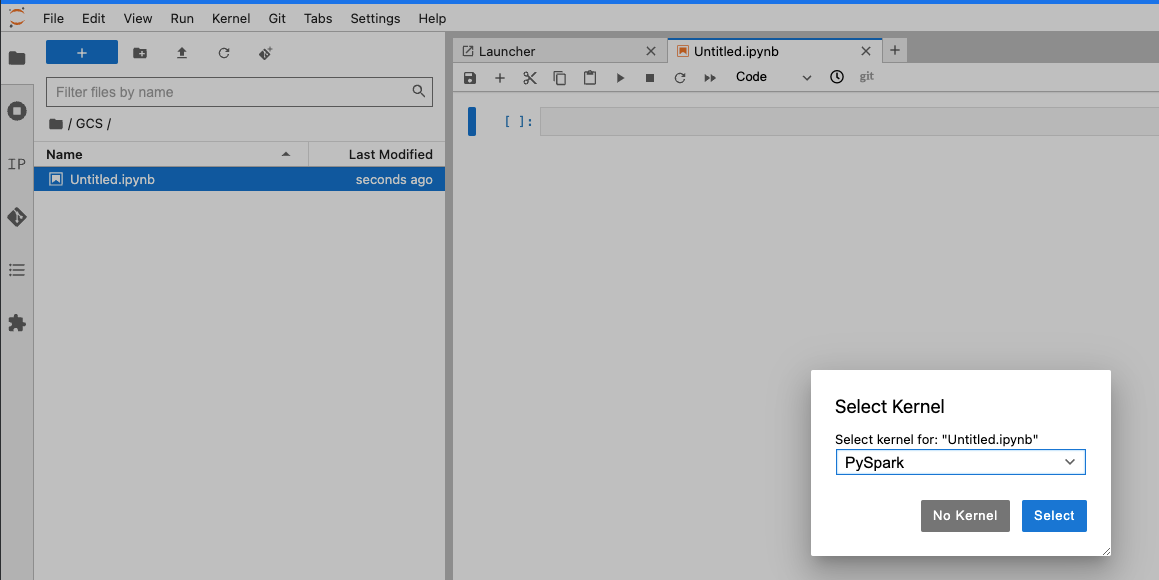
Once inside JupyterLab, create a new jupyter notebook. Select PySpark as the kernel when prompted.
Import BDT#
To import and authorize BDT, Run the following cell after replacing the filepath to point to the location of the BDT license uploaded to Cloud Storage earlier.
import bdt
bdt.auth("gs://[your-bucket]/[path-to-artifacts]/bdt.lic")
from bdt import functions as F
from bdt import processors as P
from bdt import sinks as S
from pyspark.sql.functions import rand, lit
Try out the API by importing the SQL functions and listing the functions
spark.sql("show user functions like 'ST_*'").show()